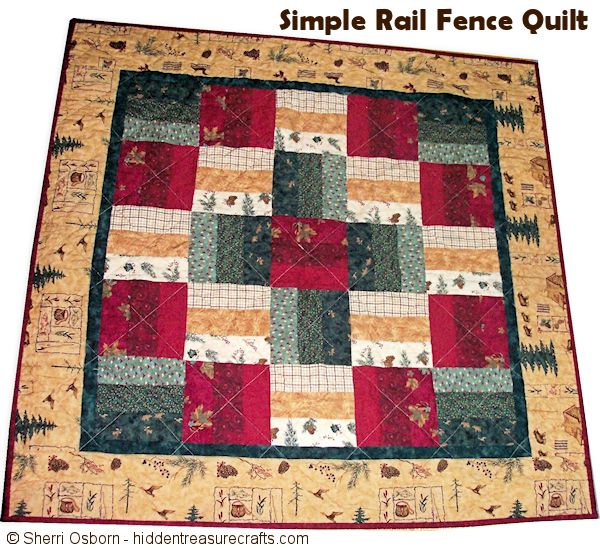
I figured since I am giving Hidden Treasure Crafts a new beginning, I would start talking about my quilts from the beginning. This is the first quilt I made (in 2002).
Considering I am now designing my own quilt patterns, I can’t believe I was so nervous to make this simple rail fence quilt. In my defense, as far as I am concerned, I think most finished quilts look anything but simple. I think that is one of the things I now love about quilting — how you can get such complex looking designs usually by making simple, straight stitched and cuts.
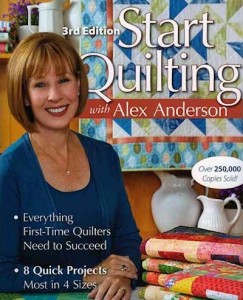
 The class I took was offered at a small cost at a local quilt shop. Talk about a genius idea because, even though the class didn’t cost much at all, I have now spent a considerable amount of money buying fabric there for many of the projects that followed. The first day we were supposed to show up with the book we were working out of, Start Quilting with Alex Anderson: Everything First-Time Quilters Need to Succeed
 (affiliate link).
We spent some of that first day going through the basics in the book and deciding on which of the patterns in this book we wanted to try our hand at (our instructor had us choose between 3 of the 8 quilt patterns in this book). I chose the rail fence quilt. We discussed the different fabrics needed and the quilting tools we would need. For the next class, we were supposed to bring our fabrics for the quilt top, thread, a sewing machine, and rotary cutters. The shop provided everything else.
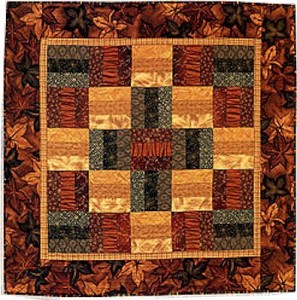
Of course, as soon as that first class was over, most of us rushed from the classroom right into the quilt shop to search for fabric. I guess you could say I played it safe because I stuck pretty close to the color theme pictured in one of the rail fence quilts pictured in this book (shown here, to the left). It worked out good though because I found some wonderful “up north” prints in those colors that I fell in love with.
 When the second class started, we started right in with cutting the fabric. As someone who had no idea how piecing worked at that point, I was very please to find out I didn’t have to cut out 75 strips that were 2 ½” x 6 ½”. Instead, I simply have to cut out 2 strips from each fabric that was 2 ½ inches wide by the WOF (width of fabric).
It was so much easier cutting those long strips, sewing them together, and then cutting out 6 ½ inch squares. I couldn’t believe how fast the quilt top came together. I also couldn’t believe how truly simple it was. The only part of the process I didn’t enjoy too much as having to constantly be ironing the seams flat, but that is only because I hate ironing!
Once the quilt top was together, we were encouraged to quilt it ourselves. I say encouraged because many quilters don’t do their own quilting (sewing together the fabric in the quilt top to get the design is technically called piecing and the act of putting the quilt top together with coordinating fabric on the back and a piece of batting sandwich in between is called quilting). The shop even gave us scrap pieces of batting. I opted to quilt mine using a diagonal grid pattern.
I was really happy with the way it turned out, and I was immediately hooked on quilting. Since that first class, I now make several quilts a year. I now find myself looking for excuses to make a quilt!
I am sorry if you came here looking for the pattern to make this quilt. Since I used a book to make this quilt, it would be wrong for me to share the directions. This book is worth the money for anyone who wants to learn how to quilt so I would encourage anyone to buy it.
Disclosure: As noted above, this post contains an affiliate link. See my disclosure policy for details.


I also have this book and am attempting to make the same quilt for my first quilt. I purchased all the fabric to make a queen size quit, made all the blocks, and now am very frustrated because I can’t figure out how to arrange the blocks for a queen size quilt. Nothing I arrange seems to work with the different amount of blocks for each color. Do you have any suggestions?
Hi Robin… There are many options, depending on your color combos and the number of blocks you have for each one… I would suggest searching google images or Pinterest for ‘rail fence quilts’ or ‘rail fence quilt block layouts’.