Have you ever walked through your local craft or fabric store and been drawn to all of the fun and fancy fleece fabrics they have? Some of the designs they have these days are amazing. You can choose from everything from cute cartoon prints to collegiate and pro sport designs. They have so many fun patterns for kids and adults alike, they are hard to resist.
[wp_ad_camp_4]
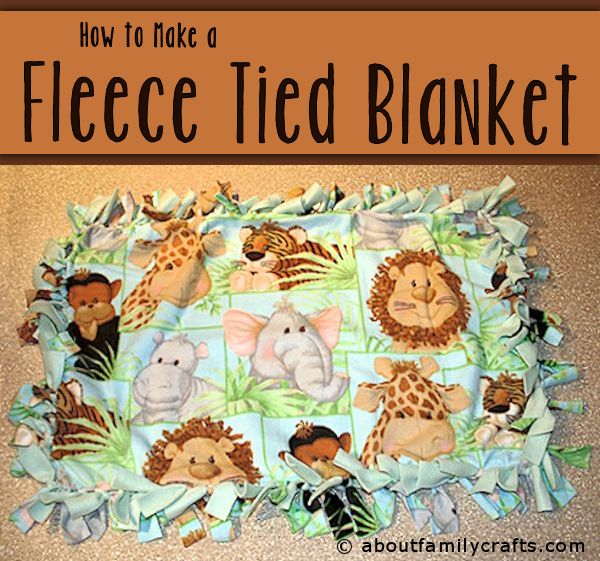
If you want to make something using fleece but are worried about sewing with it (it can be tricky because it is so stretchy), making one of these no-sew, tied blankets is a great alternative. You can make them in all shapes and sizes and you don’t need any special tools (although they do sell rulers to help you cut fringe). You can even use these same techniques to make matching pillows.
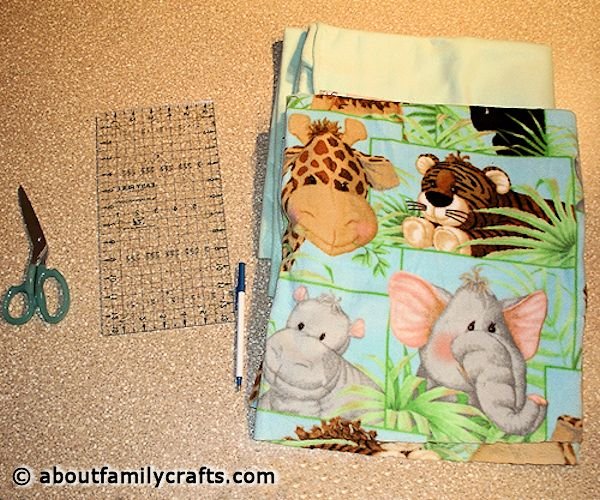
Supplies You Will Need:
- Two pieces of fleece
- Scissors
- Ruler
- Marking Pen
I think, one of the most fun things about making this blanket is walking around the fabric store, choose fabric. Beware — you might have a hard time making up your mind! I like choosing a colorful design for one of the piece of fabric and a coordinating plain color for the other.
The amount of fabric you will need will vary depending on how large of a blanket you want to make. The fabric on a bolt of fleece is usually 60-inches wide so that will be your only limit. When deciding on the size of your blanket, you will want to keep your work area in mind because you will need to lay the fabric out flat to cut it. Also remember that the finished blanket will appear about 10- to 12-inches smaller than what you started with because of the fringe you cut.
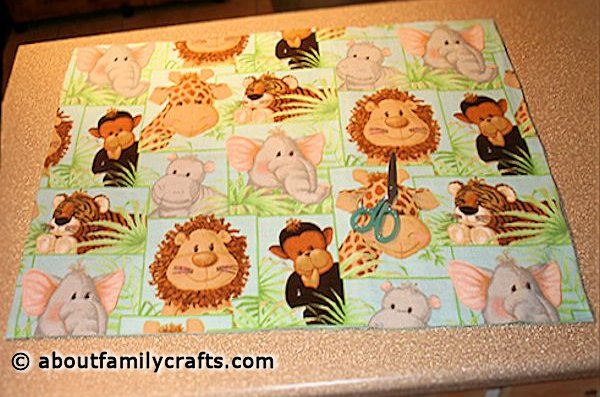
The first thing you need to do is trim your fleece so both pieces are the same size. The easiest way to do this is to lay them both down on your work surface, one on top of the other. If your fleece has a right and wrong side (they usually don’t), make sure the right sides are facing out.
Make sure both piece of fleece are laying smooth, and line up the edges as well as you can. Use the scissors to trim the edges so they are even. If you want, you can use the ruler to draw a straight line and then cut on that line (make sure you cut through both thicknesses of fabric). A perfectly straight line isn’t necessary, but you do want it squared up as much as possible.
Before you start cutting the fringe in your blanket edges, you need to cut the corners off; and, before you do that you need to decide how long you want the fringe to be. I have found that cutting 4-inch fringe in a nice size for a smaller blanket and 6-inch fringe is good for a large one. You use a couple of pieces of scrap fleece to experiment to find a length you like.
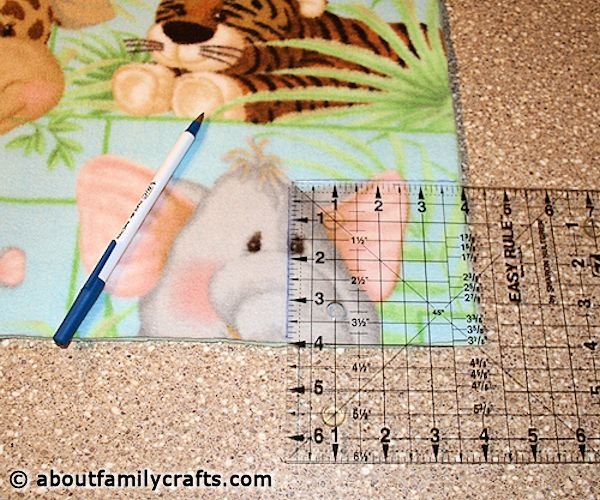
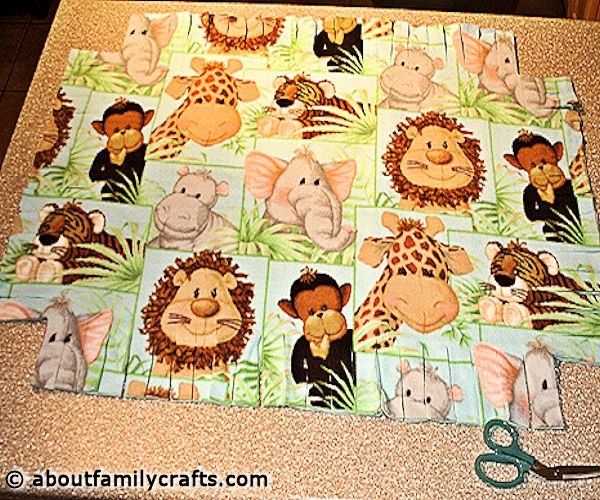
To cut the corners off your fleece, you first need to mark where you will cut. Measure in, from both sides of the point, the same length you want your fringe to be. For the blanket shown here, I planned on cutting 4-inch fringe so I used my quilting ruler to measure 4-inches from each side. Mark around the edges of the ruler and then cut on your marked line. Do this for each corner.
Now you can cut your fringe. While you can by a ruler to use to cut 1-inch strips using a rotary cutter and mat, you don’t need anything more than a pair of scissors. Of course, it you are planning to make several of these, you might want to invest in the ruler.
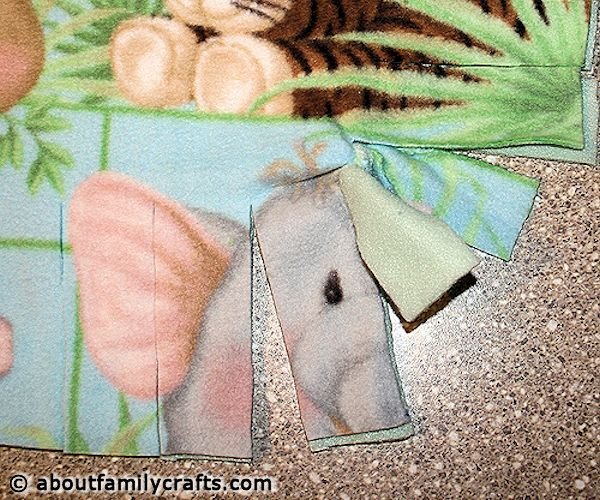
You want your fringe strips to be about an inch wide. Starting at one end of one of the blanket edges, I used a ruler and pen to measure and draw a few lines where I wanted the fringe and then cut them. Make sure you cut through both pieces of fabric. I then just eyeballed the rest of the fringe. They do not have to be perfect. The only trick is to pay attention as you get near the end of a side so you can make sure you aren’t left with too wide of too thin of a strip for your final cut. Do this on all four sides of the blanket.
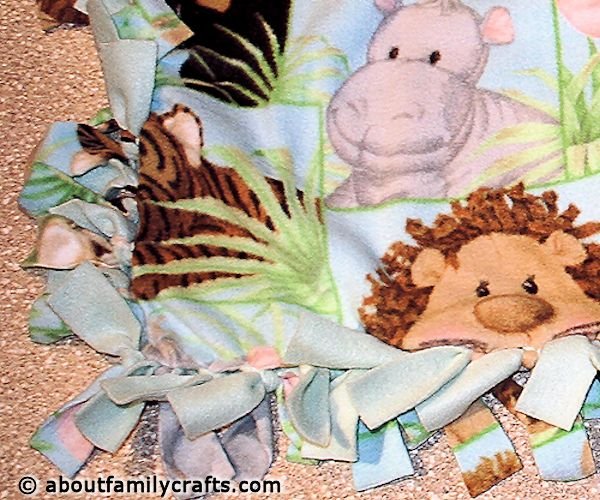
Once you have all of the fringe cut, you can start tying them together. Tie the top fringe to the piece below it using an overhand knot. Continue this until you have tied them all.
Just because you are done tying all of the fringe doesn’t mean you have to be done with the blanket. Take a little extra time to personalize it. You can use fabric paint or sew on appliqués or buttons. Dig through your craft and sewing supplies to see what you can come up with!
See how easy it is? I bet you can’t wait to make one yourself! Who will you make it for – yourself or someone else?


I have been wanting to try making one of these for quite awhile. Your directions are so easy it has inspired me to go buy some fleece today.