


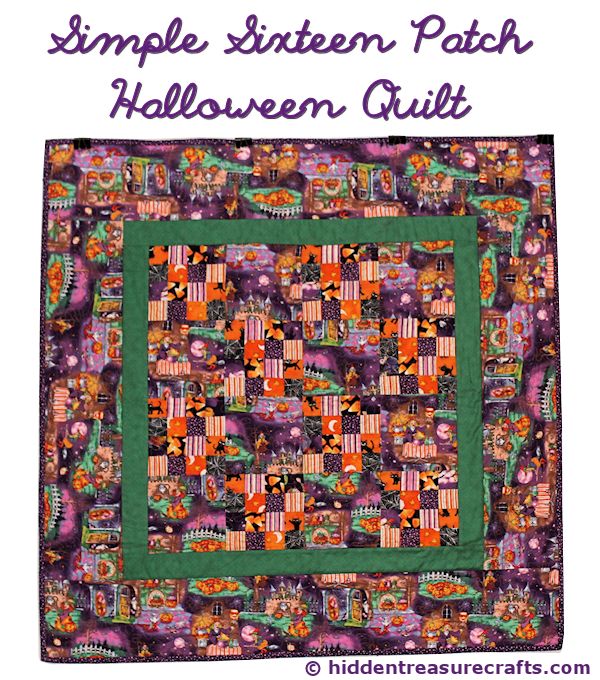
If you are looking for a fast and easy Halloween quilting project, you might want to give this small tablecloth a try. Of course, you can use this pattern to make quilts for other occasions, such as Christmas, or use fabrics that match your decor. If you are looking for a homemade gift ideas for someone special, this would be a great option!
This was actually a pattern I got from one of my local quilt stores. It is no longer available so I will share the details about how I made it.
Fabric Needed to Make This Halloween Quilt:
- 1/8 of a yard of 8 different fabrics
- 1 1/4 yard of fabric for the 6 1/2” alternating blocks and the outer border
- 3/8 yard of fabric for the inner border
- 1/2 yard of fabric for the binding
- 1 1/4 yard of fabric for the backing
- 1 1/4 yard of batting
How to Cut the Fabric:
- 1/8 yard cuts – From all 8 fabrics, cut a 2” strip that is the width of the fabric (WOF)
- Alternate Squares and Outer Border – Cut 6 strips that are 6 1/2” x (WOF), then sub-cut two of those strips into eight 6 1/2” squares. The other 4 strips will be used for the outer border.
- Inner Border – Cut 4 strips that are 2 1/2” x (WOF).
- Binding – Cut the 1/2 yard binding fabric into 2 1/2-inch strips.
Start off by making the 16-patch blocks. Sew two of the 2” x (WOF) strips together lengthwise. Repeat this with the other six strips so you have 4 sets of these strips. Press the seams open.
Cut these strips into 16 – 2” units (graphic is not to scale).
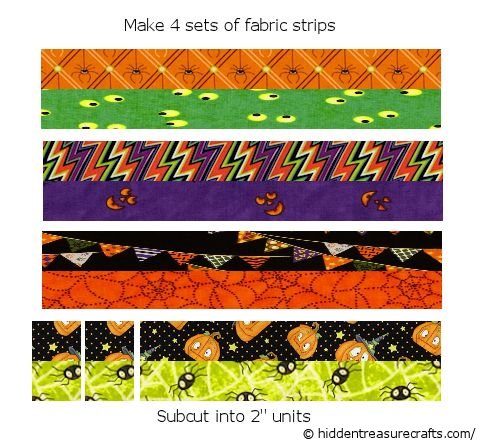
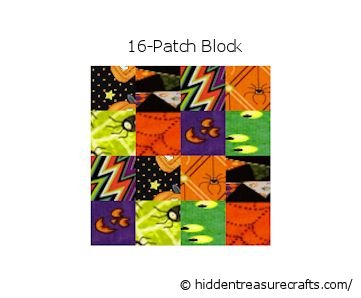
Randomly sew these 2” units together to make eight 16-patch blocks. Press the seems open.
Make a row of blocks using 16-patch blocks and the 6 1/2” squares you cut for the alternate blocks. Each row will use two 16-patch blocks and two alternating blocks. Start the first row off with a 16-patch block.
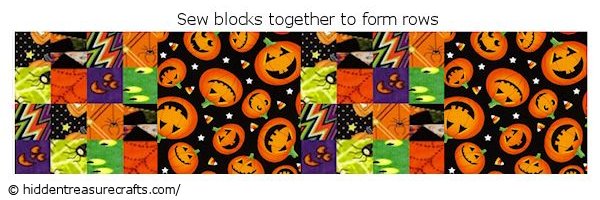
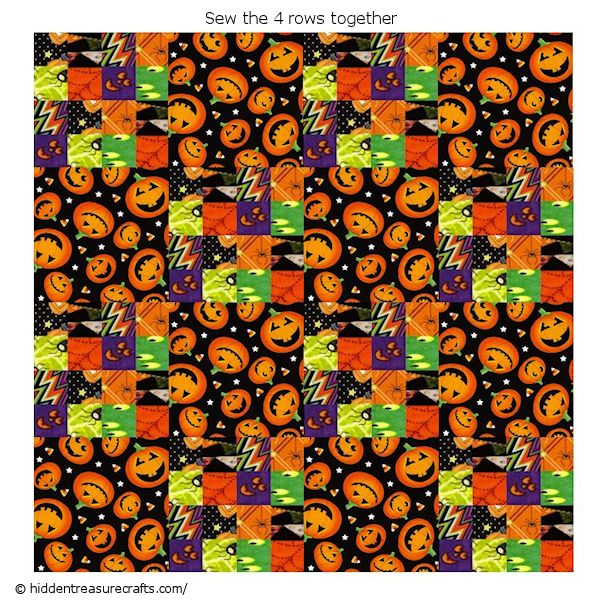
Use this method to sew four rows. The second row should start with an alternating block, the third with a 16-patch block, and the fourth with another alternating block.
Sew the four rows together. Press all the seems.
All that is left now is to sew on the borders. Start off by Measuring across the top and bottom of your quilt. The measurement should be around 24 1/2. If you get different number for both the top and bottom, find the average of the two numbers and cut two of your inner border strips to that measurement. Sew them on and press.
Measure the sides of the quilt now and cut the other 2 inner border pieces to that size. Sew them on and press.
Do the same for the outer border.
At this time, I usually sew together the strips for the binding and set it aside until the quilting is done.
Your quilt top is now done!
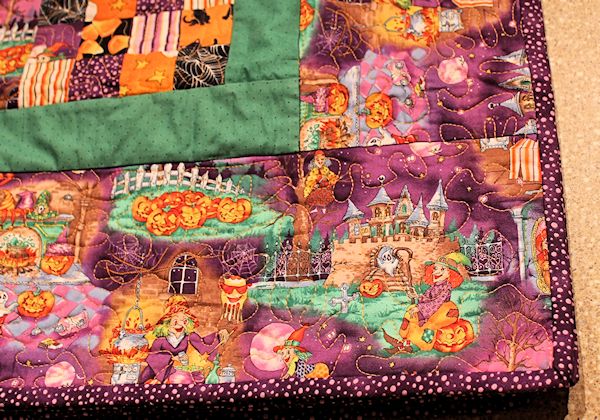
I chose to quilt this using a small, meandering design. Smaller quilts are great practice and fit nicely on my machine!
This pattern is perfect for the beginner and anyone else who wants to make a quit top quickly. I hope you enjoy making it as much as I did. This happened to be the 35th quilt I made.